User guide
The workflow for mapping the fluorophore’s concentration in living cells can be divided into two or three steps, depending on the user’s preferences.
Extract the information about photons from the binary .ptu file and filter the data to eliminate background or unwanted influence of autofluorescence or other fluorophores.
(OPTIONAL) Create the ROI file using external software, for example, ImageJ, to create a text image containing a selection of the pixels that should be included in the analysis. This step is optional because the third step offers automatic cell detection. Nevertheless, smICA nop includes a tool that translates the externally created ROI files to the format and structure understood by smICA. A detailed description of using the tool script can be found here. Roi Files can also be generated directly with smICA using the Auto ROI mode. The ROI mixer tool can be furter used to perform a product, sum, or subtract operations on as generated ROI files.
Calculate the map of the fluorophore concentration based on fluorescence intensity data and calibration data.
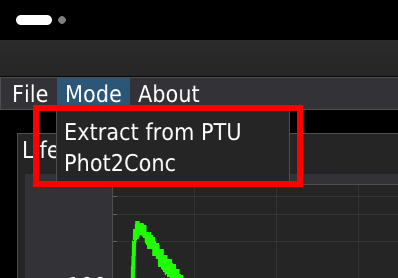
At the startup, the user can choose between two modes: EXTRACT from PTU and FILTER or Phot 2 Conc.

The first option is to extract raw data from the .ptu files, filter the data using time gating, or apply statistical filters based on the fluorescence decay pattern. The second option provides a GUI for mapping the concentration of fluorescent molecules within living cells. Below is a detailed description of each mode. You can also switch between modes by selecting the proper option from the Mode menu.